Photo Book Research with Image Manipulation
The Project
One of my current photography projects is about trees and their presence in the urban environment. I wish to show how trees manage to survive the environment we place them in, as well as how they manage to evolve against the odds in urban settings and how we co-exist with this magnificent and important life form. Sometimes surviving inhospitable environments and living on long after man made buildings crumble, trees are something we see every day and perhaps don't notice their presence or appreciate their valuable function. I wholeheartedly agree with the feelings of Cox (2011:6) stating that:
I have taken inspiration for this project from the work of Mitch Epstein who has published a book called, 'New York Arbor' and Eugene Atget who in amongst his other work, photographed the trees of Paris. It is the work of Epstein (Newman, 2013:2) that I am particularly intrigued by and he has been quoted in an interview as saying:

This image by Epstein is that of an English Elm know as Hangman's Elm which is allegedly over 350 years old and situated in Washington Square Park, New York. I find this both a poignant and powerful image which manages to depict the tree's striking difference with the surrounding environment which, is modern by comparison. The surrounding seating does show that as human's we enjoy the shade and beauty that the tree provides, supporting the opinion that trees provide a place of tranquillity.
Along with Epstein, I also take inspiration from the work of Eugene Atget and his images which quite often featured trees in Paris either within the city parks or nestled in the suburban areas.

Although this image taken by Atget in 1924 is predominantly of the architecture, I find myself acutely interested in the relationship of the lonely tree within its urban setting. I am curious as to whether this tree has survived its environment in the current day.

This comparison work, which was featured on 'Lensculture', shows how the work of Atget has been re-created by a photographer named 'Rauschenberg'. Along with the buildings, clearly depicted is the survival of the trees that Atget had photographed at this location some 73 years earlier.
Further Research and Choices for Editing

Cartier-Bresson openly disparaged colour photography and this was examined and debated as a result of an exhibition of his work in 2012. Meltzer (2012) discusses the exhibition regarding Cartier-Bresson's work and asserts that, 'In almost every image, colour catches our eyes first, disrupting the delicate balance between the decisive moment and the geometry that were quintessential to HCB's work'.
Editing
Once all of my project images are chosen, editing is required which will require me to choose which software to use i.e. Lightroom or Photoshop. Lightroom is very good to make adjustments, however there are functions that are not available in this programme but it is a simple enough procedure to export images from here into Photoshop which, has a wider range of functions available for image manipulation. Appropriate adjustments need to implemented using non-destructive editing via layers and images re-sized to my required dimensions. I will be converting my digital images to greyscale and will be using JPG files for this function in order to make the file size easier to manipulate. My RAW files will be white balance and colour corrected initially before saving the image as a JPG and re-opening to make my adjustments.
If making any prints I need to ensure I have the correct print profile downloaded to my PC. The correct print profile will ensure that the edited image we see on our screens is how it will appear once in print especially useful is the soft proofing facility in Photoshop.

 This screenshot shows how an image is resized to A4 dimensions in Photoshop. The 'constrain proportions' box should be checked, avoiding any image distortion and this will also mean only one set of values needs to be entered for the size. In this example the width of the image has been entered as 29cm and it is important that the resolution is set to 300 pixels/inch to ensure good quality of the final print. This also applies to images being used to create an online photo book.
A screenshot showing how to soft proof your image in Photoshop which alter the image to suit the printer. The colour and contrast may need to be corrected following this process.

This screenshot depicts the Profile being selected as the destination profile. The print will then be ready once it has been re-saved.

I have created an 'action' in Photoshop that will help to speed up the resizing process for publishing images within this blog post. As there will be a lot of images uploaded, creating a very large file size, it is prudent practice this function which will allow easier viewing of my work on the internet.
Converting My Images to Greyscale

 The screenshot on the left demonstrates adjustments in Camera Raw prior to saving and re-opening as a JPEG. The right hand screenshot shows the layers pallet being used for greyscale conversion and exposure adjustments. This will be performed for all of my images.
Showcasing My Work
A photo book is a good and cost effective way to showcase a finished or on going project that can be easily shared with an intended audience. Photo books are designed to be predominantly images but may also be accompanied by supporting text, allowing a good degree of expression. Images in a photo book can be either kept to the same size or can be a combination of different sizes and orientations. There are other suitable methods of displaying a body of work such as portfolios, exhibitions and publishing your own book, which all have both their positive points and drawbacks. Portfolios are a great way to exhibit your actual prints but adding supporting text doesn't tend to support the professional look that a photo book achieves. A plus point of a portfolio is that as a rule, they can be re-used for future projects, making sense financially. Due to the size needed for a portfolio, they are however, not as portable as a photo book, making the act of sharing your work not as accessible.
An exhibition is visually, probably the finest way to showcase a project but this is a costly venture and limits your audience to those who can attend the exhibition, Himes & Swanson (2011:15) propose that 'Ultimately, books are far more accessible than exhibitions of important work'. Unless self-publishing a single volume, publishing a book of your work that can be marketed through book sellers is most likely the costliest option. Print runs tend to be in large numbers and unless there is some certainty of selling multiple copies of your work, this will run into a lot of your own money being spent without financial recuperation.


The example on the left is a portfolio and on the image on the right is an example of photo books.

Creating a Hand Made Book
Photo Book Company Research
Today, there are many, many companies including supermarkets that offer various ways of compiling a photobook with varying degrees of options and quality resulting between them. Researching the individual companies on the internet, essentially looking for reviews, is time consuming but ultimately worthwhile. It is always prudent to ask other people's opinion and experiences before embarking upon research as this is a reliable means to obtaining a satisfactory result for your own photobook. There are many special offers and vouchers to be found on the internet but I am going to be looking at quality and choice alongside any offers I discover, ensuring I don't fall into the trap of 'you get what you pay for'. I have used 'Photobox' in the past, however I didn't find the software to be user friendly so unlikely to use it again.
The main points I consider important when choosing a suitable company for the task:
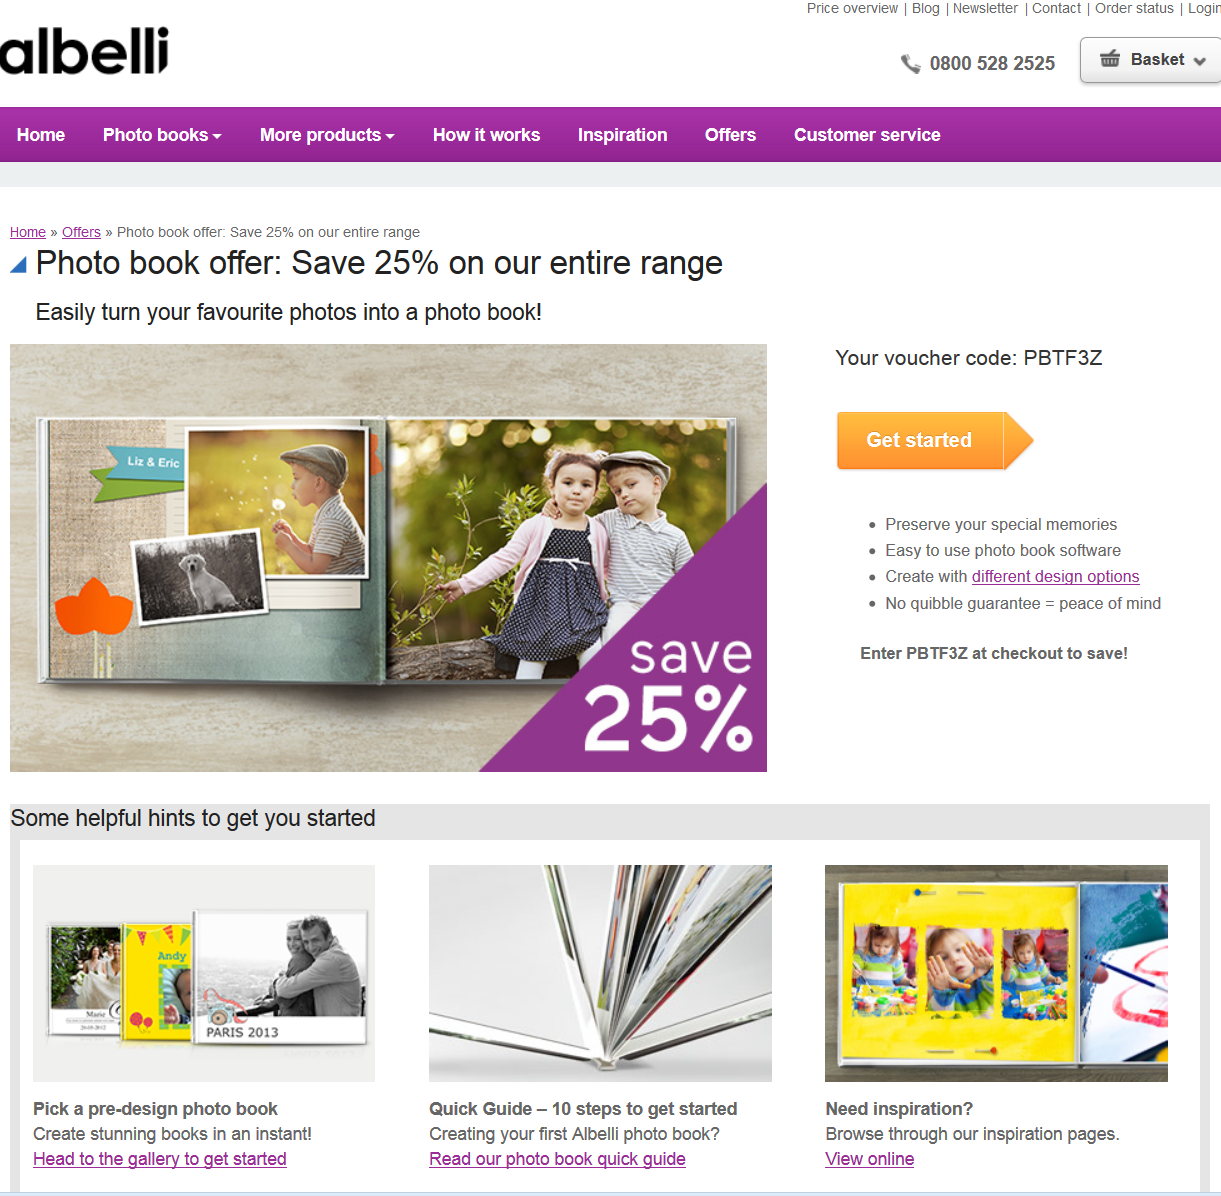
This company is rated on Trustpilot as 'excellent' and given 9.1 stars out of 10. It is also known to be a printing house so consequently more likely to produce a decent quality finish for the prints. A good range of options and paper finishes are available and the reviews I read did state that it was easy to use the online site. As well as the company themselves offering a discount, I also found an offer on a website offering a large landscape 24 page book for £12 and a 50 page book for £15 which included delivery. An 0800 number is provided for customer service on the home page which is a good indication for aftersales.
Blurb
 Trustpilot rated this company as 'good' and it has a star rating of 8.7 out of 10 stars. The quality is generally rated as being good however, the ease of putting the book together has been quite heavily criticised and the final outcome has sometimes been a disappointment. This is the most expensive option out of my chosen three costing £33.99 plus postage for a large landscape 20 page book. A good choice of options and finishes for the paper does appear to be available. They do also have a good reputation for customer service and have been seen to reply to negative reviews left on Trustpilot.
Vistaprint

This company also has a rating on Trustpilot of 'good' and a star rating of 8.6 out of 10. Once again the quality has received favourable comments but they do receive negative comments about delivery times. The choice of options seems a little more limited however, the price is very competitive at the moment due to a special offer and a 24 page large landscape book is currently costing £12.49 plus postage. Vistaprint have also been regularly seen to respond to reviews left of Trustpilot which instils some faith in their customer service standard.
Conclusion
I have chosen to use Albelli, based on the favourable reviews and a combination of my criteria points being met. I am planning to choose gloss a finish paper for my photo book as opposed to the lustre or matt finishes which tend leave black and white images looking too 'flat'. The paper quality will have to be carefully considered as there will obviously be a lot of black in my images and I would not be prepared to accept this showing through to the next page. The only statistics I could find on the Albelli (2014) site regarding print resolution informed that I needed to use JPEGs and a 'minimum resolution of at least 12 inches x 120 dpi or 1440 pixels for a full page in a 30x30cm book'.
I will be including text with my images that will strive to convey the story of the image being presented. I am satisfied with my choice of project for the assignment brief, however of reflection I don't think I gave enough consideration as to how long it would take me to accomplish this task. I do feel that my decision to have the photo book published in black and white is the right choice.
Bibliography
Albelli. (2014). Changing images from RAW to JPEG. Available: http://www.albelli.co.uk/tips-and-tricks/using-raw-format-photos. Last accessed 28th Feb 2014.
Cox, S. (2011) Urban Trees. 1st ed. Marlborough: Crowood Press Ltd. p.6.
Hines, D.D. & Swanson, M.V. (2011) Publish Your Photography Book. 14th ed. New York: Princeton Architectural Press. p.15.
Jaclyn. (2014). Make Your Own Handmade Book. Available: http://www.thelateafternoon.com/make-your-own-handmade-book. Last accessed 28th Mar 2014.
Meltzer, S. (2012). Color vs. black-and-white: Photography debate stirred by new Henri Cartier-Bresson exhibition. Available: http://www.imaging-resource.com/news/2012/11/09/color-vs-black-and-white-photography-debate-stirred-by-new-cartier-bresson. Last accessed 28th Feb 2014.
Newman, C. (2013) 'Trees in an Urban Landscape' The Telegraph'. 07 Jun 2013. p.2.
Rauschenberg, C. (2007). Rephotographing Atget. Available: https://www.lensculture.com/articles/chris-rauschenberg-rephotographing-atget#slide-1. Last accessed 25th Feb 2014.
Trustpilot. (2014). Albelli Reviews. Available: http://www.trustpilot.co.uk/review/www.albelli.co.uk. Last accessed 25th Feb 2014.
Trustpilot. (2014). Blurb Reviews. Available: http://www.trustpilot.co.uk/review/blurb.co.uk. Last accessed 25th Feb 2014.
Trustpilot. (2014). Vistaprint Reviews. Available: http://www.trustpilot.co.uk/review/www.vistaprint.co.uk. Last accessed 25th Feb 2014.
Wren, H. (2011). Buying Guide We test ten of the best photo books. Available: http://www.techradar.com/news/photography-video-capture/cameras/best-photo-book-10-reviewed-1043329/12#articleContent. Last accessed 26th Feb 2014.
One of my current photography projects is about trees and their presence in the urban environment. I wish to show how trees manage to survive the environment we place them in, as well as how they manage to evolve against the odds in urban settings and how we co-exist with this magnificent and important life form. Sometimes surviving inhospitable environments and living on long after man made buildings crumble, trees are something we see every day and perhaps don't notice their presence or appreciate their valuable function. I wholeheartedly agree with the feelings of Cox (2011:6) stating that:
Trees are connected to the past and the future as well as the present and especially support the view that, 'We manage, protect and are responsible for those trees that arose in previous decades, maybe centuries.My Inspiration
I have taken inspiration for this project from the work of Mitch Epstein who has published a book called, 'New York Arbor' and Eugene Atget who in amongst his other work, photographed the trees of Paris. It is the work of Epstein (Newman, 2013:2) that I am particularly intrigued by and he has been quoted in an interview as saying:
Epstein worked his way through New York City's five boroughs "I had a long-standing interest in trees," he says, "and be able to work on a series for which I could leave my home in the morning, before dawn, was also very rewarding.I find Epstein's (Newman, 2013:2) approach to trees both empathetic and heart-warming as he compares the trees of New York to the city's human migrants that arrive there from all over the world, writing:
Despite their swampy or mountainous or tropical origins, these immigrant trees, alongside their native counterparts, still thrive in New York City. The trees remind me of the human immigrants who continually arrive in New York, who creatively adapt to a brutal yet tolerant city, and rarely abandon their original character.
This image by Epstein is that of an English Elm know as Hangman's Elm which is allegedly over 350 years old and situated in Washington Square Park, New York. I find this both a poignant and powerful image which manages to depict the tree's striking difference with the surrounding environment which, is modern by comparison. The surrounding seating does show that as human's we enjoy the shade and beauty that the tree provides, supporting the opinion that trees provide a place of tranquillity.
Along with Epstein, I also take inspiration from the work of Eugene Atget and his images which quite often featured trees in Paris either within the city parks or nestled in the suburban areas.
Although this image taken by Atget in 1924 is predominantly of the architecture, I find myself acutely interested in the relationship of the lonely tree within its urban setting. I am curious as to whether this tree has survived its environment in the current day.
This comparison work, which was featured on 'Lensculture', shows how the work of Atget has been re-created by a photographer named 'Rauschenberg'. Along with the buildings, clearly depicted is the survival of the trees that Atget had photographed at this location some 73 years earlier.
Further Research and Choices for Editing
Taking on board and reflecting
on the research I have conducted for this project, I have made a
decision to process my digital image files as black and white. As it is
very early Spring and some of my images have also been taken in the
Winter, there is very little life showing on the trees I have chosen to
capture. This has lead me to realise that black and white is an
appropriate choice for the finish of my work as there is less
distraction within the image and the surrounding colours of the
environment are not left to overpower the shape or form and impact
of the tree(s).
Cartier-Bresson openly disparaged colour photography and this was examined and debated as a result of an exhibition of his work in 2012. Meltzer (2012) discusses the exhibition regarding Cartier-Bresson's work and asserts that, 'In almost every image, colour catches our eyes first, disrupting the delicate balance between the decisive moment and the geometry that were quintessential to HCB's work'.
Editing
Once all of my project images are chosen, editing is required which will require me to choose which software to use i.e. Lightroom or Photoshop. Lightroom is very good to make adjustments, however there are functions that are not available in this programme but it is a simple enough procedure to export images from here into Photoshop which, has a wider range of functions available for image manipulation. Appropriate adjustments need to implemented using non-destructive editing via layers and images re-sized to my required dimensions. I will be converting my digital images to greyscale and will be using JPG files for this function in order to make the file size easier to manipulate. My RAW files will be white balance and colour corrected initially before saving the image as a JPG and re-opening to make my adjustments.
If making any prints I need to ensure I have the correct print profile downloaded to my PC. The correct print profile will ensure that the edited image we see on our screens is how it will appear once in print especially useful is the soft proofing facility in Photoshop.
The print profile section for DS Colour Labs
This screenshot shows how an image is resized to A4 dimensions in Photoshop. The 'constrain proportions' box should be checked, avoiding any image distortion and this will also mean only one set of values needs to be entered for the size. In this example the width of the image has been entered as 29cm and it is important that the resolution is set to 300 pixels/inch to ensure good quality of the final print. This also applies to images being used to create an online photo book.
A screenshot showing how to soft proof your image in Photoshop which alter the image to suit the printer. The colour and contrast may need to be corrected following this process.
This screenshot depicts the Profile being selected as the destination profile. The print will then be ready once it has been re-saved.
I have created an 'action' in Photoshop that will help to speed up the resizing process for publishing images within this blog post. As there will be a lot of images uploaded, creating a very large file size, it is prudent practice this function which will allow easier viewing of my work on the internet.
Converting My Images to Greyscale
The screenshot on the left demonstrates adjustments in Camera Raw prior to saving and re-opening as a JPEG. The right hand screenshot shows the layers pallet being used for greyscale conversion and exposure adjustments. This will be performed for all of my images. | |
| The final result |
Showcasing My Work
A photo book is a good and cost effective way to showcase a finished or on going project that can be easily shared with an intended audience. Photo books are designed to be predominantly images but may also be accompanied by supporting text, allowing a good degree of expression. Images in a photo book can be either kept to the same size or can be a combination of different sizes and orientations. There are other suitable methods of displaying a body of work such as portfolios, exhibitions and publishing your own book, which all have both their positive points and drawbacks. Portfolios are a great way to exhibit your actual prints but adding supporting text doesn't tend to support the professional look that a photo book achieves. A plus point of a portfolio is that as a rule, they can be re-used for future projects, making sense financially. Due to the size needed for a portfolio, they are however, not as portable as a photo book, making the act of sharing your work not as accessible.
An exhibition is visually, probably the finest way to showcase a project but this is a costly venture and limits your audience to those who can attend the exhibition, Himes & Swanson (2011:15) propose that 'Ultimately, books are far more accessible than exhibitions of important work'. Unless self-publishing a single volume, publishing a book of your work that can be marketed through book sellers is most likely the costliest option. Print runs tend to be in large numbers and unless there is some certainty of selling multiple copies of your work, this will run into a lot of your own money being spent without financial recuperation.
The example on the left is a portfolio and on the image on the right is an example of photo books.
Below is an example of an exhibition
Creating a Hand Made Book
Over the years, many photographers have created their own photo book by hand. Books have been created for all sorts of different reasons so it is a common practice and there is a great variety of techniques to be found just by searching on the internet. One of the book making tutorials I have discovered during my research, gave easy to follow instructions with supporting images and it is something I will endeavour to try in the near future.
I will be using photographs as opposed to the plain paper shown and will print my images to A4 size following the process as already explained in editing. The following images and link are taken from tutorial by Jacyln (2014):
I will be using photographs as opposed to the plain paper shown and will print my images to A4 size following the process as already explained in editing. The following images and link are taken from tutorial by Jacyln (2014):


 |
| Jaclyn (2014) Handmade Book |
 |
| Tech Radar Review 2011 |
Today, there are many, many companies including supermarkets that offer various ways of compiling a photobook with varying degrees of options and quality resulting between them. Researching the individual companies on the internet, essentially looking for reviews, is time consuming but ultimately worthwhile. It is always prudent to ask other people's opinion and experiences before embarking upon research as this is a reliable means to obtaining a satisfactory result for your own photobook. There are many special offers and vouchers to be found on the internet but I am going to be looking at quality and choice alongside any offers I discover, ensuring I don't fall into the trap of 'you get what you pay for'. I have used 'Photobox' in the past, however I didn't find the software to be user friendly so unlikely to use it again.
The main points I consider important when choosing a suitable company for the task:
- Quality
- Value for money
- Options available
- Customer service reputation
- Ease of use
- Albelli
- Blurb
- Vistaprint
This company is rated on Trustpilot as 'excellent' and given 9.1 stars out of 10. It is also known to be a printing house so consequently more likely to produce a decent quality finish for the prints. A good range of options and paper finishes are available and the reviews I read did state that it was easy to use the online site. As well as the company themselves offering a discount, I also found an offer on a website offering a large landscape 24 page book for £12 and a 50 page book for £15 which included delivery. An 0800 number is provided for customer service on the home page which is a good indication for aftersales.
Blurb
Vistaprint
This company also has a rating on Trustpilot of 'good' and a star rating of 8.6 out of 10. Once again the quality has received favourable comments but they do receive negative comments about delivery times. The choice of options seems a little more limited however, the price is very competitive at the moment due to a special offer and a 24 page large landscape book is currently costing £12.49 plus postage. Vistaprint have also been regularly seen to respond to reviews left of Trustpilot which instils some faith in their customer service standard.
Conclusion
I have chosen to use Albelli, based on the favourable reviews and a combination of my criteria points being met. I am planning to choose gloss a finish paper for my photo book as opposed to the lustre or matt finishes which tend leave black and white images looking too 'flat'. The paper quality will have to be carefully considered as there will obviously be a lot of black in my images and I would not be prepared to accept this showing through to the next page. The only statistics I could find on the Albelli (2014) site regarding print resolution informed that I needed to use JPEGs and a 'minimum resolution of at least 12 inches x 120 dpi or 1440 pixels for a full page in a 30x30cm book'.
I will be including text with my images that will strive to convey the story of the image being presented. I am satisfied with my choice of project for the assignment brief, however of reflection I don't think I gave enough consideration as to how long it would take me to accomplish this task. I do feel that my decision to have the photo book published in black and white is the right choice.
Bibliography
Albelli. (2014). Changing images from RAW to JPEG. Available: http://www.albelli.co.uk/tips-and-tricks/using-raw-format-photos. Last accessed 28th Feb 2014.
Cox, S. (2011) Urban Trees. 1st ed. Marlborough: Crowood Press Ltd. p.6.
Hines, D.D. & Swanson, M.V. (2011) Publish Your Photography Book. 14th ed. New York: Princeton Architectural Press. p.15.
Jaclyn. (2014). Make Your Own Handmade Book. Available: http://www.thelateafternoon.com/make-your-own-handmade-book. Last accessed 28th Mar 2014.
Meltzer, S. (2012). Color vs. black-and-white: Photography debate stirred by new Henri Cartier-Bresson exhibition. Available: http://www.imaging-resource.com/news/2012/11/09/color-vs-black-and-white-photography-debate-stirred-by-new-cartier-bresson. Last accessed 28th Feb 2014.
Newman, C. (2013) 'Trees in an Urban Landscape' The Telegraph'. 07 Jun 2013. p.2.
Rauschenberg, C. (2007). Rephotographing Atget. Available: https://www.lensculture.com/articles/chris-rauschenberg-rephotographing-atget#slide-1. Last accessed 25th Feb 2014.
Trustpilot. (2014). Albelli Reviews. Available: http://www.trustpilot.co.uk/review/www.albelli.co.uk. Last accessed 25th Feb 2014.
Trustpilot. (2014). Blurb Reviews. Available: http://www.trustpilot.co.uk/review/blurb.co.uk. Last accessed 25th Feb 2014.
Trustpilot. (2014). Vistaprint Reviews. Available: http://www.trustpilot.co.uk/review/www.vistaprint.co.uk. Last accessed 25th Feb 2014.
Wren, H. (2011). Buying Guide We test ten of the best photo books. Available: http://www.techradar.com/news/photography-video-capture/cameras/best-photo-book-10-reviewed-1043329/12#articleContent. Last accessed 26th Feb 2014.


